So why not make something that satisfies the need to craft, makes use of all that junk mail and also land you with a nice new journal at the same time? Have I got your attention yet? Hahaha...
This journal is more like a small holder. You can fold A4 letters in half and slide them into the flaps to form the notebook. I have made a version of this journal with sturdy envelope packaging, but this time I started with brochures and pamphlets. I used patterned endpaper for the inside covers that I bought from Daiso, part of my 'stock'. It is easy to make if you can understand my crummy instructions... -_-!!!
Refillable Journal
You will need:
- One large brochure (for the front and back cover)
- At least 2 pieces of card (I used theatre flyers)
- A piece of paper for the inside cover
- Scissors
- Glue
- Stickers to decorate (optional)
Steps
1.

Place a piece of A4 junk mail on top of the brochure. Fold the long edges of the brochure inwards to fit the junk mail. Leave around 2-3mm allowance so that you can put more junk mail inside. Take note of which side you will use for the front cover, especially if there's a particular picture you want.
2.

Fold the junk mail and brochure in half. You will now have a centre fold for the brochure and the junk mail. Now fold the short edges inwards. Again, leave 2-3mm allowance for more paper in the future.
3.


Remove the junk mail and paste the pieces of card inside. This is to strengthen the covers. Leave a space in between the cards for the spine. Your cover will then look like the picture on the right.
3.
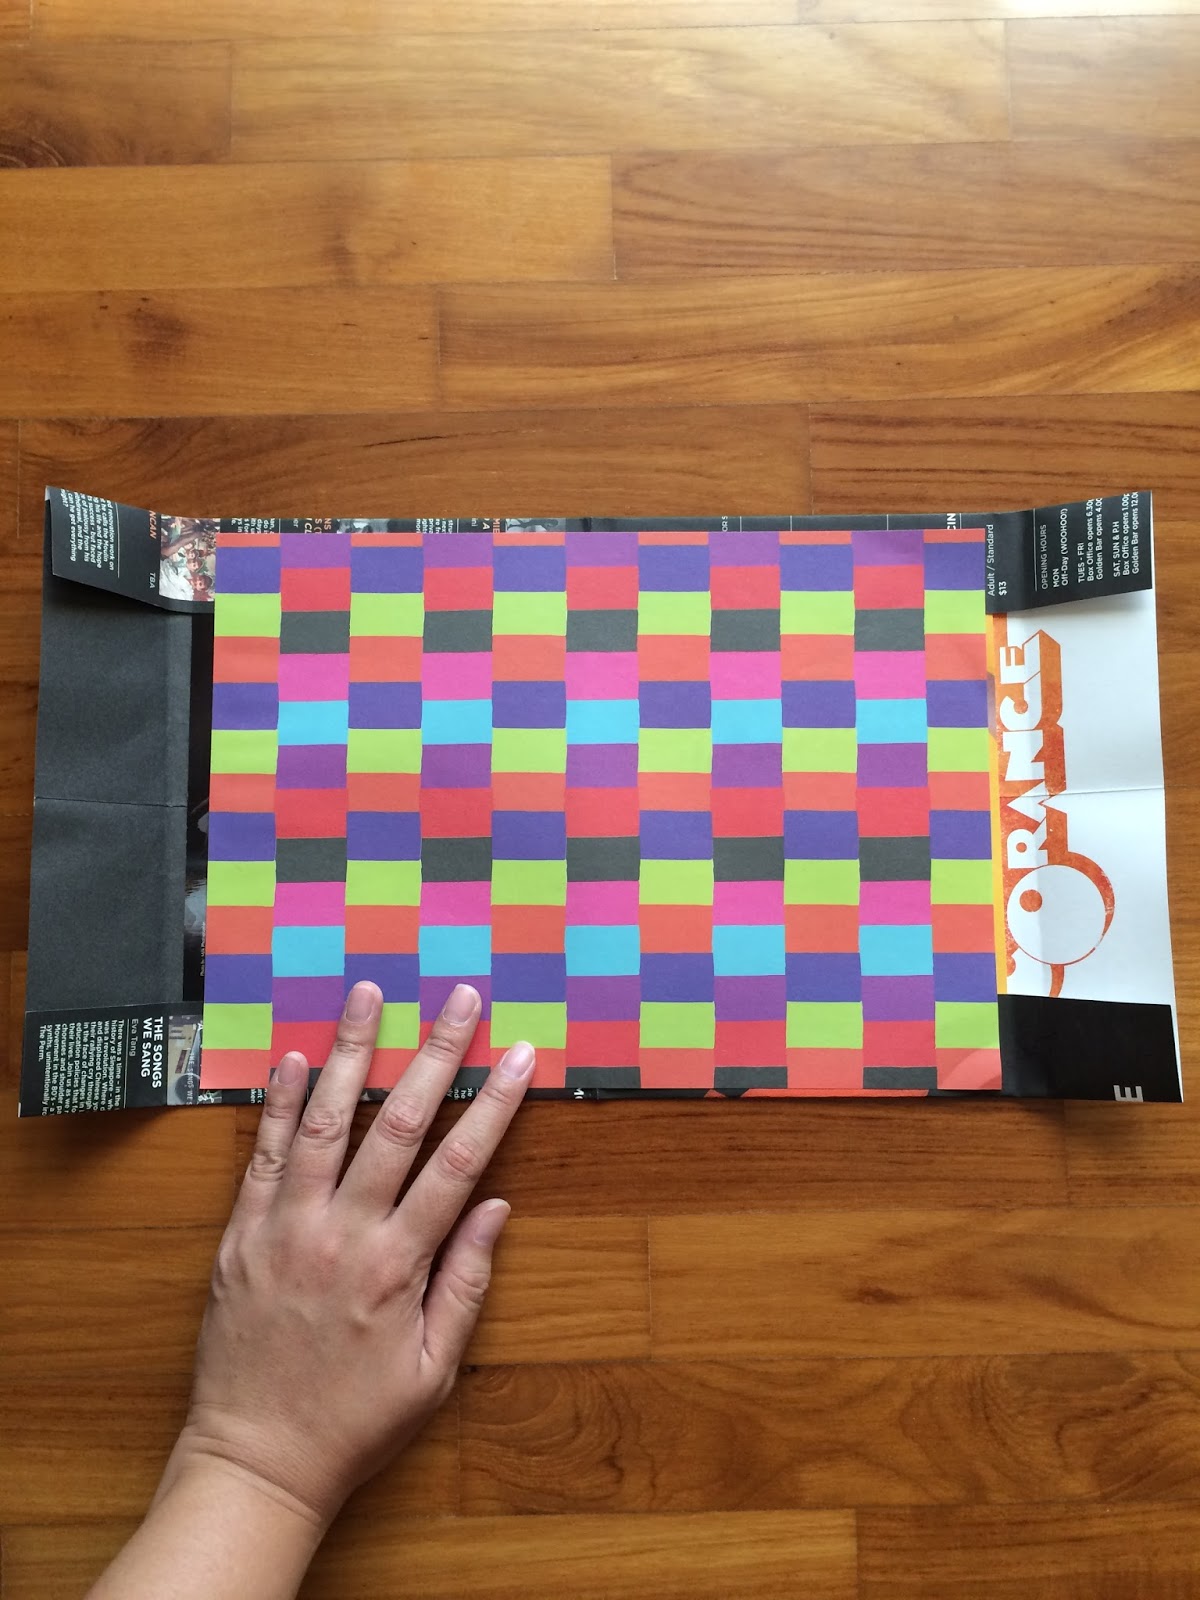
Paste your patterned paper on top of the cards. I used my existing stock of paper but if you want to more eco-friendly, use another brochure.
4. This part is where you will be making the pocket for the paper. Bear with me, because this could be a bit tricky for me to explain, but basically, you are making a pocket to slide in papers. Use the side where your back cover will be.

First, fold the short edges over the card. Then make another fold around 5mm away. Unfold the brochure and make 2 cuts where you folded it to the edge of the journal. It should look like the picture above, with one skinny bit and one fat bit to the left.


Fold it down so it looks like a little pocket. Apply glue to the flap, where my finger is pointing. Do the same to the other side.
5.

Once you have applied glue to both flaps, fold them down. You should now have something like a little folder, and when you close it, it should look like the pictures below.


6. You are nearly done! Slide in some paper like what I have done and make a victory sign! When you receive more junk mail, just slide it in.


And now, you can learn from my mistakes/observations...
What I learned:
- Leave more paper on the side to make a big pocket, especially if you intend to put more papers in or if you receive a lot of mail.
- You can also keep the papers in place by looping a rubber band or piece of string along the spine. I didn't because I was afraid it would crush it.
- You can also use letters with text. Apply gesso or white acrylic or paste blank sides on top to reuse them.
- Don't, for the love of administration, use important documents like current bank statements or policy statements or your birth certificate.
Have fun, people! If you did try this, post the photos of your journals in the comments!
No comments:
Post a Comment